Vertical Cinematography Masterclass: Camera Angles, Lenses, and Framing
Mobile-first viewing isn’t a trend anymore—it’s the default. With 9:16 vertical format dominating Instagram Reels, TikTok, YouTube Shorts, and streaming platforms, cinematographers must master vertical composition or risk producing content that feels cropped, cramped, or unprofessional. While horizontal 16:9 remains the cinematic standard, understanding vertical cinematography is now essential for any production house aiming to capture modern audiences.
When you’re working within the constraints of mobile-first filming, every pixel counts. This is especially true when producing short-form video content where attention spans are measured in milliseconds. The difference between a 9-second hook and a scrolled-past failure often comes down to how you frame and compose your shots.
This masterclass breaks down the technical and creative principles of vertical filming—from camera angle psychology to lens selection—so your vertical content commands attention on mobile screens and converts viewers into customers.
Understanding the 9:16 Canvas: Why Vertical Changes Everything
Vertical framing isn’t just landscape rotated 90 degrees. The 9:16 aspect ratio fundamentally changes visual hierarchy, subject placement, and depth perception in ways that traditional cinematography doesn’t prepare you for.
In vertical format:
Headroom is precious. Unlike horizontal composition where you can place subjects across the frame’s width, vertical demands strategic vertical placement. The top third should anchor your focal point (eyes, face, or key product). Placing a subject’s eyes in the lower half creates discomfort and wastes the vertical frame’s potential.
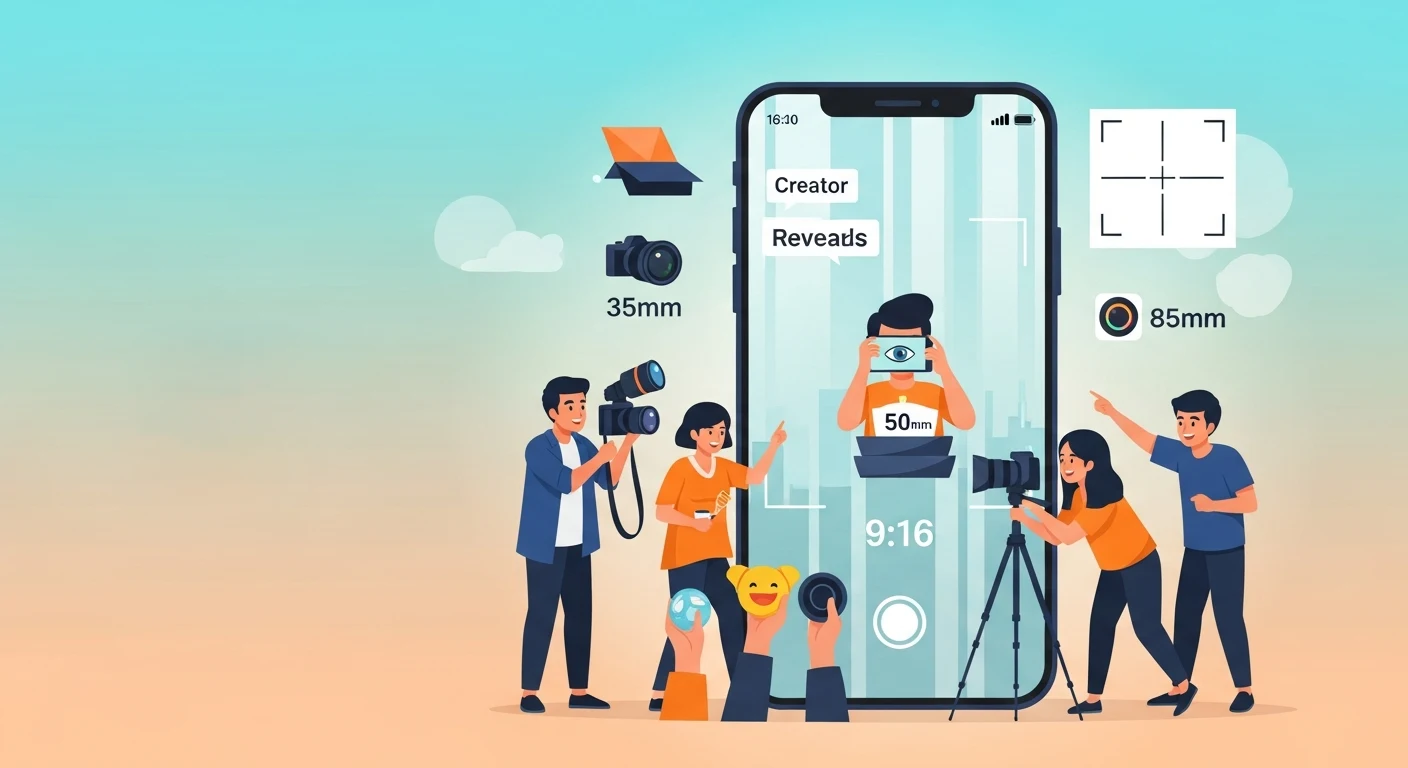
Foreground and background depth compress. Your lens choice directly impacts whether the vertical space feels immersive or claustrophobic. A 50mm lens on full-frame will feel different than an 85mm in the same vertical frame, creating distinct emotional responses.
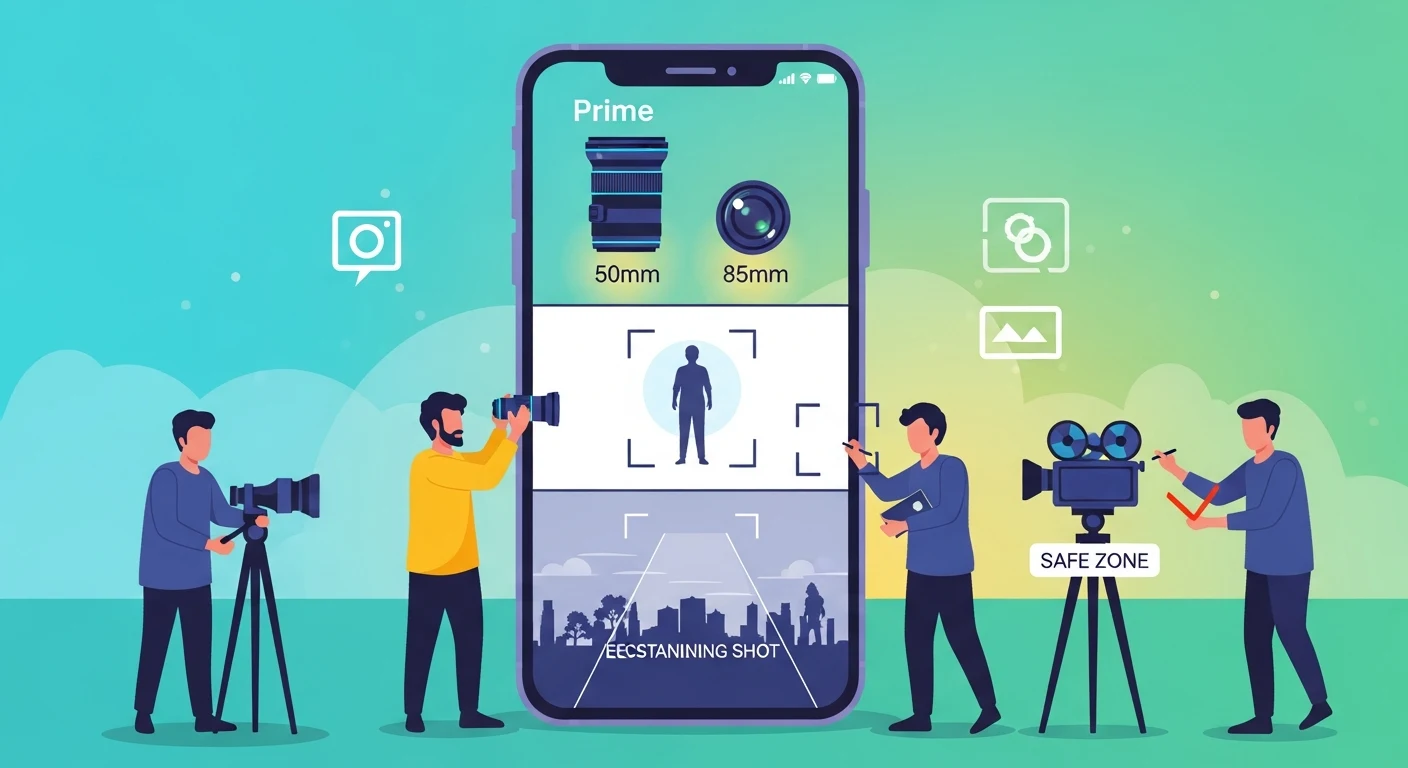
Cut-off is inevitable. Hands, feet, or crucial details can vanish outside the 9:16 boundary if not carefully composed. Safe zones become non-negotiable during pre-production planning.
The key insight: vertical cinematography for mobile-first content requires treating height as your primary compositional tool—not width. This philosophy is fundamental to vertical video storytelling, where narrative structure, pacing, and emotional beats all follow the vertical flow of the frame rather than traditional left-to-right composition.
Camera Angles for Vertical Impact
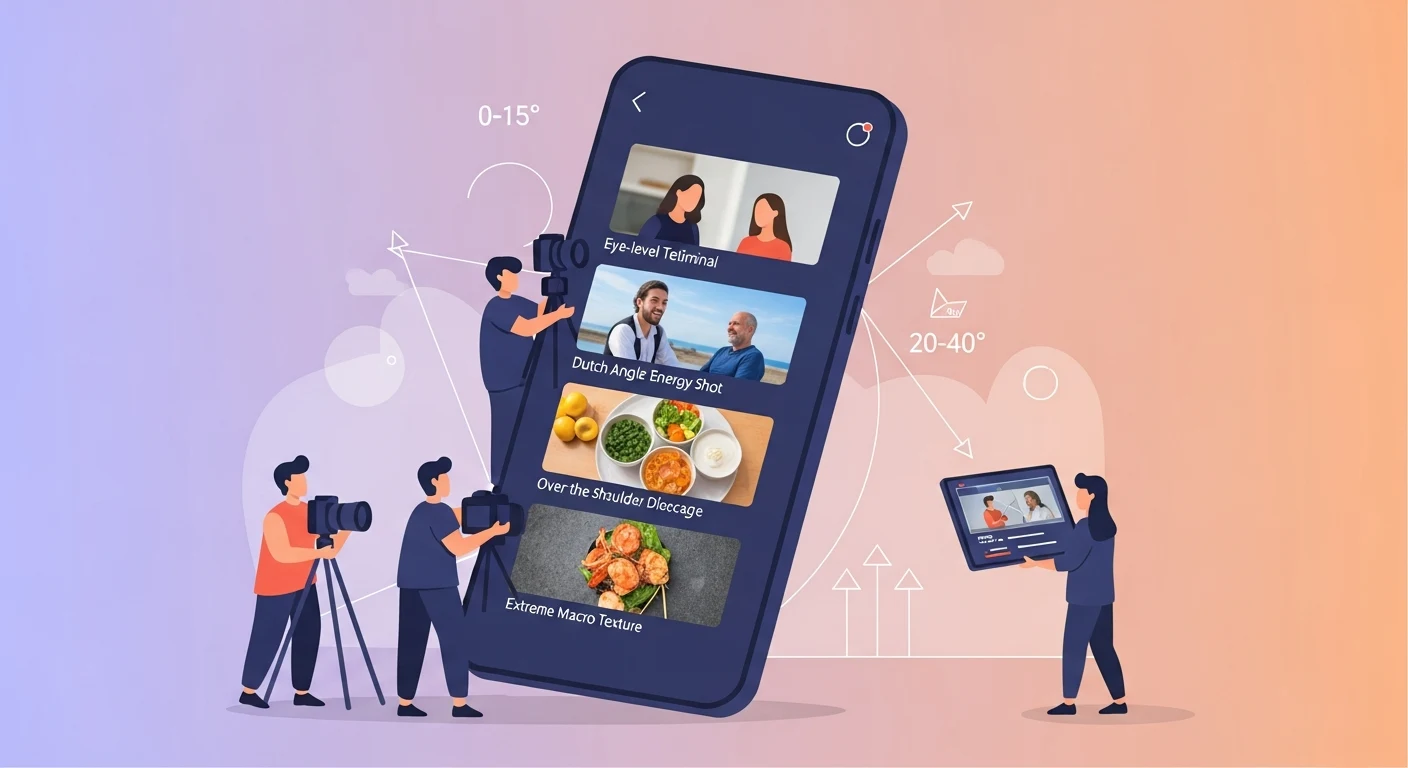
Eye-Level & Slight Elevation (0–15°)
The most versatile angle for vertical filming. It creates intimacy and trustworthiness—ideal for testimonials, tutorials, and brand narratives. Elevate the camera slightly (10–15°) to flatter subjects and avoid unflattering downward perspectives that make people look weak or diminished.
Dutch Angle (20–40° Tilt)
Tilting the camera creates dynamic tension and energy—perfect for product reveals, transitions, or high-energy social content. Use sparingly to avoid disorientation; even a 20° tilt feels pronounced in vertical format because there’s nowhere to visually escape.
Over-the-Shoulder (180° Setup)
For dialogue or reaction-based vertical content, position the camera at shoulder height, capturing the speaker and their environment. This angle works exceptionally well in micro-drama narratives and intimate conversations because it creates a sense of eavesdropping, drawing viewers into the emotional moment.
Top-Down (60–90° Downward)
Overhead shots humanize vertical content—especially for food, product, or hand-focused work. The downward angle naturally leads the viewer’s eye downward through the frame’s height, making it feel intentional and curated rather than accidental.
Extreme Close-Up (Macro Angles)
Fill the vertical frame with texture, emotion, or product detail. This angle demands precision focusing and works best with prime lenses (50mm, 85mm) that create separation from background clutter and help isolate emotion and detail.
Lens Selection for Vertical Cinematography
Prime Lenses (35mm, 50mm, 85mm)
Prime lenses are your best friend for vertical work. They offer superior sharpness, beautiful compression in vertical space, and predictable depth of field. A 50mm prime on full-frame creates natural perspective for dialogue-heavy vertical content; an 85mm delivers cinematic separation ideal for product or portrait verticals. Primes also force intentionality—you can’t zoom, so every frame is thoughtfully composed.
Wide Angles (16–35mm)
Wider lenses can feel distorted in vertical format if not carefully deployed. Use them to establish environment or location, but avoid placing subjects at the edges where distortion becomes obvious. Wide angles work best for establishing shots in vertical format.
Zoom Lenses (24–70mm)
Slower zooms (f/2.8) allow flexibility during mobile-first production, letting you frame quickly without repositioning. Faster primes (f/1.8–f/2.8) offer better low-light performance—crucial for indoor vertical filming where lighting is constrained by mobile-first setups.
Anamorphic Lenses (Specialty)
For premium vertical content, anamorphic primes create distinctive bokeh and color flare that reads beautifully on mobile screens. They’re an investment but elevate production quality for brand narratives and micro-dramas where cinematic separation matters immensely.
Framing Techniques That Stop Scrolls
Rule of Thirds in Vertical Space
Place your subject’s eyes or focal point in the upper third of the frame, not dead center. This creates natural visual flow and leverages the vertical format’s height advantage. Viewers’ eyes naturally travel downward through vertical content.
Layered Depth
Use foreground elements (props, hands, silhouettes) to create depth. In vertical framing, layering feels especially three-dimensional because the narrow width makes foreground-to-background separation more apparent and psychologically impactful.
Negative Space Strategy
Vertical format excels at leveraging empty space—use it intentionally. A subject centered with breathing room above/below feels compositionally controlled; random negative space feels like poor framing or a mistake.
Leading Lines Vertically
Incorporate vertical or diagonal lines (architecture, roads, natural elements) to guide the viewer’s eye downward through the frame’s height, reinforcing the vertical format’s natural flow and keeping attention locked on your content.
Practical Production Applications
Whether you’re producing short-form video for performance marketing, micro-dramas, or long-form vertical series, these principles apply across all formats:
- Always shoot with 9:16 safe zones marked in your monitor during production.
- Test framing on actual mobile devices—not just on a cinema monitor.
- Overscan slightly—assume mobile devices may crop edges based on notch or UI elements.
- Plan coverage assuming 80% of viewers watch without audio; frames should communicate without sound.
Ready to elevate your vertical content? Contact our team for a consultation and let’s create mobile-first visual stories that command attention, drive engagement, and convert viewers into loyal customers.
Frequently Asked Questions
Q1: How is 9:16 vertical framing different from shooting and then cropping horizontal footage?
Shooting natively in 9:16 allows you to compose for vertical space from the start, creating intentional vertical energy rather than cropped-out compositions that waste frame potential.
Q2: Which lens is best for beginners learning vertical cinematography?
A 50mm prime is ideal for beginners—it forces intentional composition, offers excellent sharpness, and naturally suits dialogue-heavy content without distortion.
Q3: How do I prevent vertical videos from feeling cramped or claustrophobic?
Use layered depth with foreground elements, position subjects in the upper third to create visual breathing room, and choose lenses (50mm+) that compress space beautifully rather than distort it.
Q4: Can I use zoom lenses for professional vertical video production?
Yes, if they’re fast (f/2.8 or better) and used intentionally; however, primes offer superior optical quality and force more deliberate framing decisions.
Q5: What’s the most common mistake filmmakers make when transitioning from horizontal to vertical cinematography?
Centering subjects dead-center and wasting the top/bottom of the frame—always anchor focal points in the upper third and use height as your primary compositional advantage.